Hiero
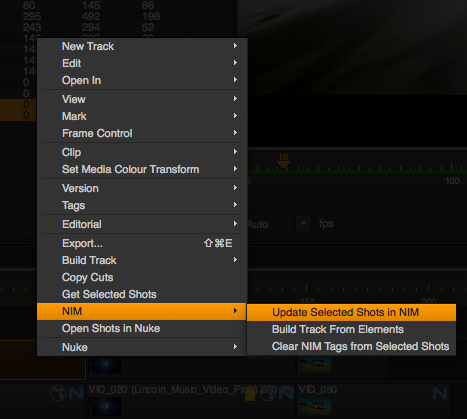
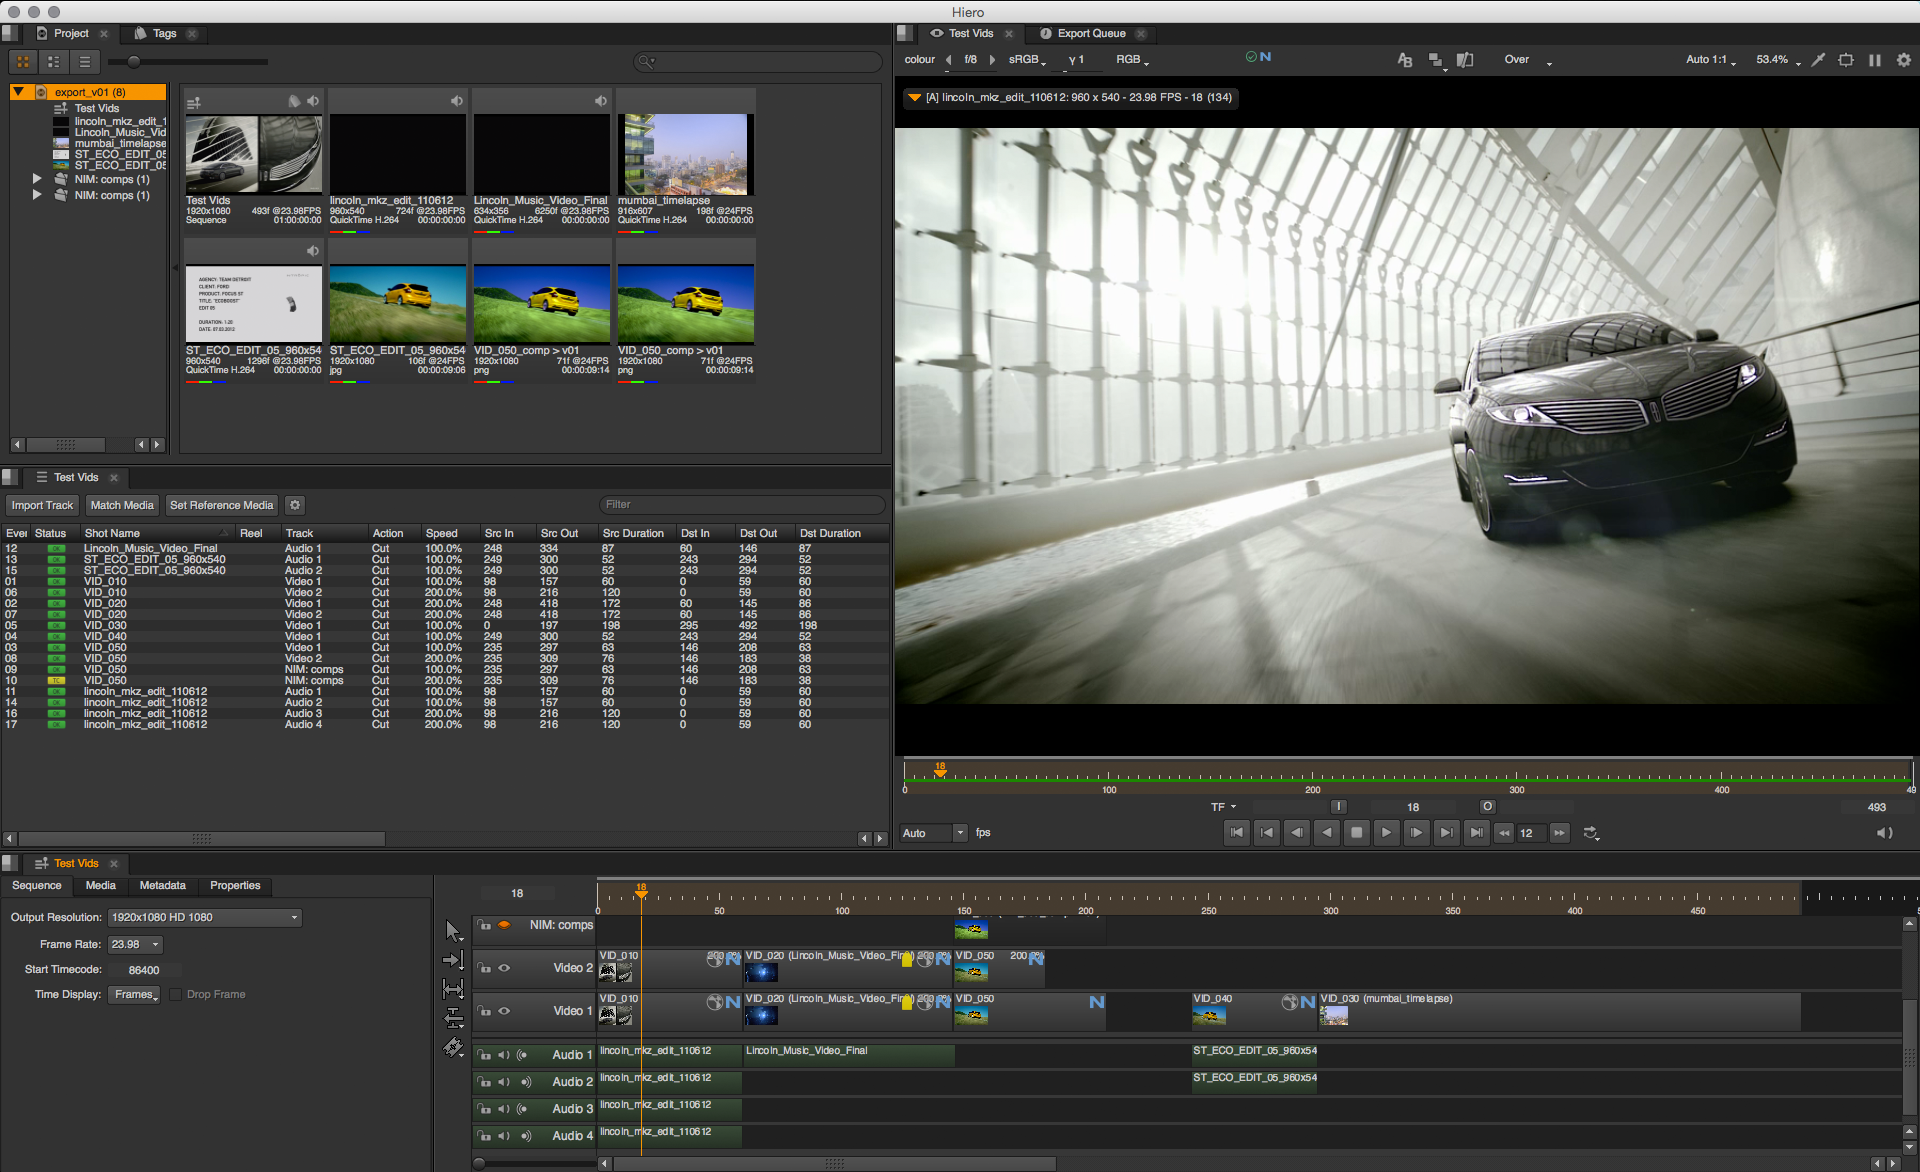
NIM provides functionality within Hiero to create new shots in NIM, export shot information to NIM, and publish exported elements to NIM shots.
Installation
Important
A seperate NIM Connector for Hiero installation is required for Hiero v9 and below. The NIM Connector for Hiero v10 and above is included with the NukeStudio connector. For Hiero v10 and above, please follow the installation instructions for the NukeStudio connector found here: Installation.
The following procedures describes how to install the Hiero NIM connector. The connector creates a NIM menu timeline context menu as well as an export processor labeled NIM: Process as Shots. The script and the following installation procedures have been tested with Hiero 1.9v1 and later.
- There are 2 steps to installing the Hiero NIM Connector.
Copy the NIM Hiero connector to .hiero/Python/StartupUI
Edit the nim_hiero_connector/__init.py__ file
The NIM Connector folder structure is as follows:
nim             <-- NIM_CONNECTOR_ROOT
    css
    img
    nim-core
    plugins
In the following examples [NIM_CONNECTOR_ROOT] is the path to the top level NIM folder.
Replace all instances of [NIM_CONNECTOR_ROOT] with the actual path to the folder.
NIM Hiero Connector
The NIM connector is installed as a StartupUI element.
For more information about Hiero StartupUI see the Hiero Documentation.
Copy the [NIM_CONNECTOR_ROOT]/plugins/Hiero/nim_hiero_connector folder to your .hiero/Python/StartupUI directory. The default location for the StartupUI directory is:
Windows: |
drive:/Users/[USERNAME]/.hiero/Python/StartupUI |
OSX: |
~/.hiero/Python/StartupUI |
Linux: |
~/.hiero/Python/StartupUI |
Note
If you do not see the .hiero folder, either you have not run Hiero for the first time or you may need to enable viewing of hidden files.
If a .hiero/Python/StartupUI directory does exist you can manually make the needed folder structure in the correct location.
__init.py__
Edit the __init.py__ file using a standard text editor.
Update line 2:
sys.path.append('[NIM_CONNECTOR_ROOT]')
to point to your [NIM_CONNECTOR_ROOT] and save the file.
The next time Hiero is started, a NIM menu should appear in the timeline context menu. Right click on the clip in the timeline to verify that the NIM connector was loaded properly.
If you don’t see the NIM menu, it’s likely that the __init__.py file is in the wrong location or the path to the NIM_CONNECTOR_ROOT is incorrect.
Setting Preferences
If you have already installed and launched other NIM Connectors your connection preferences will already be saved in the nim.prefs file.
The NIM preferences are in the following locations:
Windows: |
drive:/Users/[USERNAME]/.nim |
OSX: |
/Users/[USERNAME]/.nim |
Linux: |
/home/[USERNAME]/.nim |
If this is the first time accessing a NIM Connector, after launching Nuke a dialog box will appear to enter the path of the NIM API.
Enter the path as follows:
http://[hostname]/nimAPI.php
where [hostname] is the address you have assigned to the NIM server.
API Keys
NIM API keys are an optional security feature that restricts API access with time limited per user keys. Requiring API keys restricts all API access to only those users with an API key.
If Require API Keys is enabled in ADMIN/Security - Options, users will be presented with a dialog box the first time they attempt to use a NIM Connector. API keys are unique to each user. Enter the NIM API key provided to you by your NIM administrator. For more information on enabling NIM API Keys please refer to the API Keys section of the documentation. For information on creating user API keys please refer to the Users Grid section of the Administration documentation.
NIM Tags
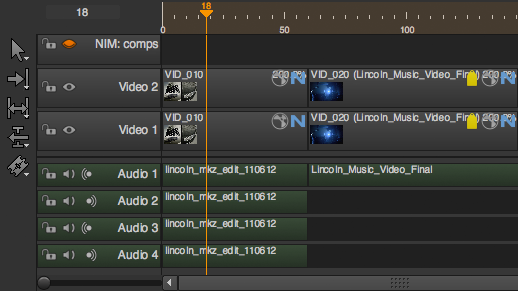
All clips that have corresponding NIM information are marked with ![]() Tag.
Tag.
The NIM tag included metadata for the NIM show and shot ID as well as corresponding output directories if a NIM project structure has been defined.
Export
In addition to using Update Selected Shots in NIM to create shots, you can include NIM shot creation as part of the Hiero export process.
- The NIM Hiero Connector adds a shot processor type called:
NIM : Process as Shots
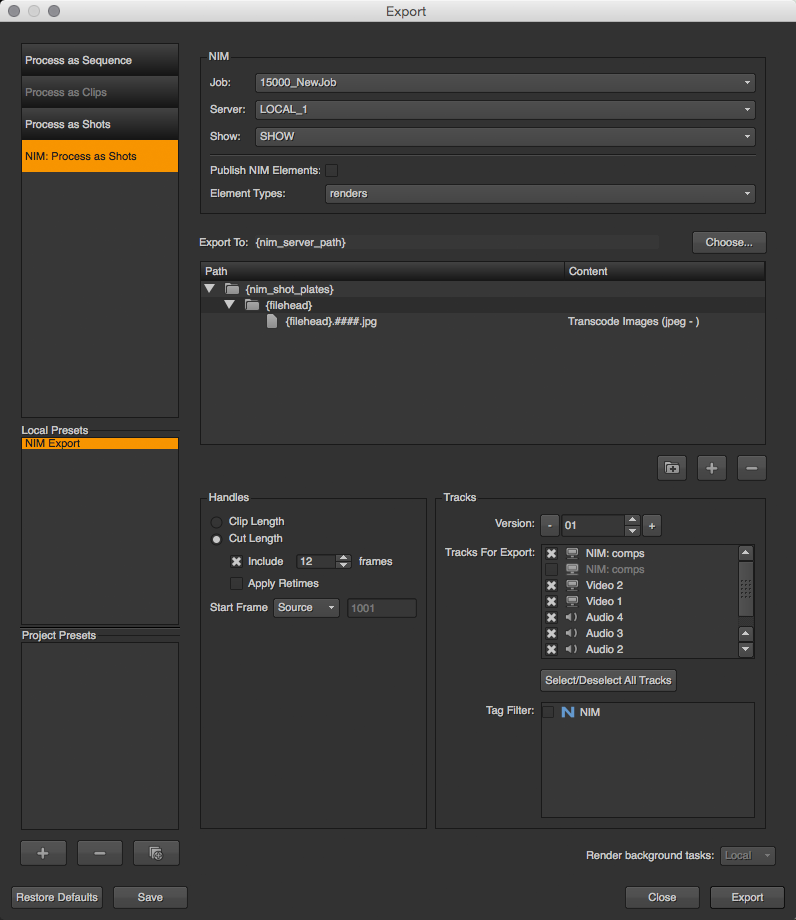
To use the NIM : Process as Shots export processor, select a shot or a group of shots from a sequence, right click and select, Export.
Select the NIM : Process as Shots button from the list of export processors.
- Choose the appropriate NIM options and define NIM export keywords to create shots and published elemetns in the desired show.
NIM options and keywords are explained in more detail in the following sections
To export shots click the Export button at the bottom of the Export dialog.
- Hiero will connect to NIM and look for corresponding shots by two methods:
Existing NIM Tag information
Matching shot names
If either of these cases exist NIM will update the shots with the corresponding information as well as update the shot icon.
If a shot is NOT found in the selected show, a new shot will be created in the show with the corresponding information and a new shot icon. Additionally the track item on the timeline will be tagged with a NIM tag containing the matching NIM shot information.
Note
Timeline track items can only be associated with a single shot in NIM.
To change a track items associated with a NIM shot, clear the NIM Tag from the track item.
NIM Export Options
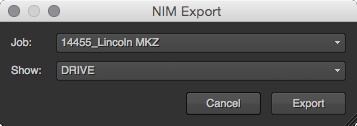
When using the NIM : Process as Shots export processor, you are presented with several custom NIM options at the top of the dialog.
- The NIM options include:
Job - a dropdown to select the job to export the shots to
Server - a dropdown to select the NIM project server to export the shots to
Show - a dropdown to select the show to export the shots to
Publish NIM Elements - a checkbox to dertermine if NIM should publish the exported items as NIM Elements on the corresponding shots
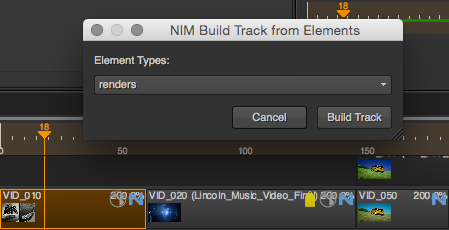
Element Types - a dropdown to select the exported NIM Element Type

First select the NIM job to export the shots to.
The server and show dialog boxes will be updated with the servers and shows on the selected job.
Select an output project server to where the images will be written.
Now choose the show to create or update shots in.
Select Publish NIM Elements if the corresponding shot elements that will be created should be automatically published.
Finally select the NIM Element Types to assign to the newly created shot elements.
NIM Export Structure Keywords
The NIM Hiero Connector includes several custom keywords for Hiero export structures that define specific locations related to the job’s selected NIM project structure.
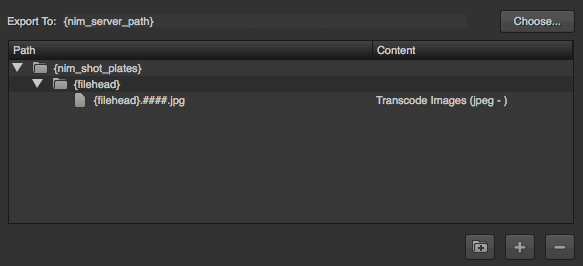
The NIM keywords include:
Keyword |
Description |
|---|---|
{nim_job_name} |
The name of the job in NIM |
{nim_job_number} |
The number of the job in NIM |
{nim_show_name} |
The name of the parent NIM show for the selected shots |
{nim_server_path} |
The full OS resolved path to the server project folder as defined in the Server administrative section of NIM |
{nim_show_root} |
The full OS resolved path to the SHOW_ROOT folder as defined in the NIM project structure |
{nim_shot_root} |
The full OS resolved path to the SHOT_ROOT folder as defined in the NIM project structure |
{nim_shot_plates} |
The full OS resolved path to the SHOT_PLATES folder as defined in the NIM project structure |
{nim_shot_render} |
The full OS resolved path to the SHOT_RENDERS folder as defined in the NIM project structure |
{nim_shot_comp} |
The full OS resolved path to the SHOT_COMPS folder as defined in the NIM project structure |
These keyword can be used the same as any native Hiero export keyword.
To view a full list of keyword, select the name of the item to change and right click to bring up the context menu. Choose Select Keywords to bring up a full list of available Hiero Keywords.
