Virtual Appliance
NIM is delivered as an OVA (Open Virtualization Format) file. This applicance can be directly imported into a number of virtualization products including Oracle VirtualBox and VMware vSphere. Follow your chosen products installation procedures to install on your selected physical server. Once running you can import the NIM OVA following your chosen products import instructions. Below are example OVA import procedures for Oracle VirtualBox.
Installation
To begin download and install Oracle VirtualBox from the website: http://www.virtualbox.org
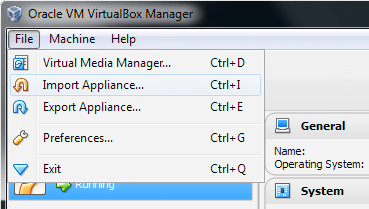
Once VirtualBox has been installed, launch VirtualBox and go to “File -> Import Appliance” in the menu bar.
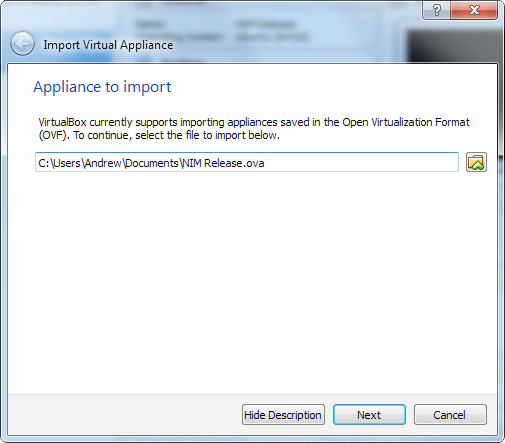
Click the “Open Appliance” button to select your OVA file. Once you have selected the file, click “Next”.
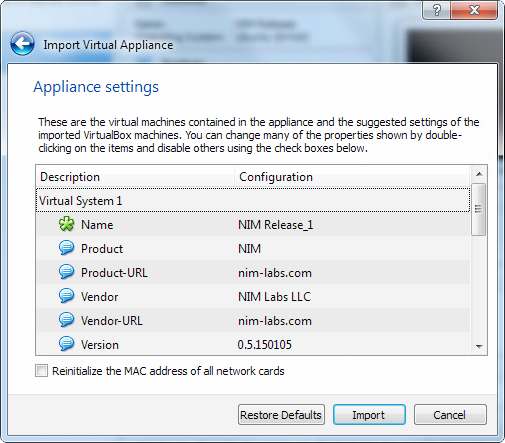
The next window will show you the configuration of the current virtual appliance. You can scroll through the configuration list and double click on any item (or check/uncheck the box) to make changes to it. Lastly, click “Import”.
VirtualBox will proceed to import the virtual machine into your library. Depending on the size of your OVA file, the import process could take quite a while.
Once the process is completed, you should be able to see the new VM in your list.
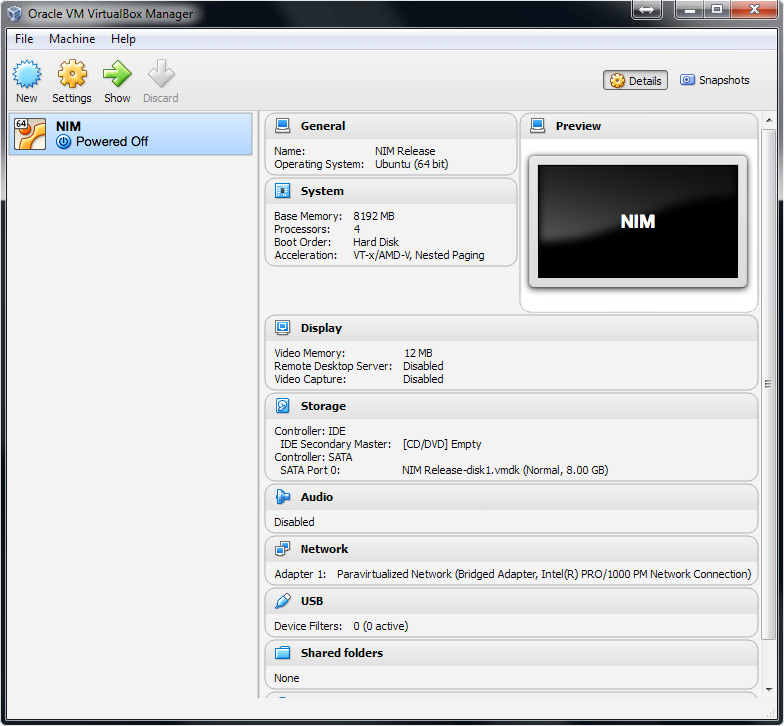
Settings
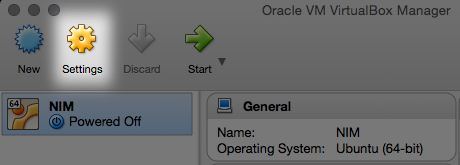
To finish the configuration select the NIM VM from the VirtualBox Manager list and press the Settings button.
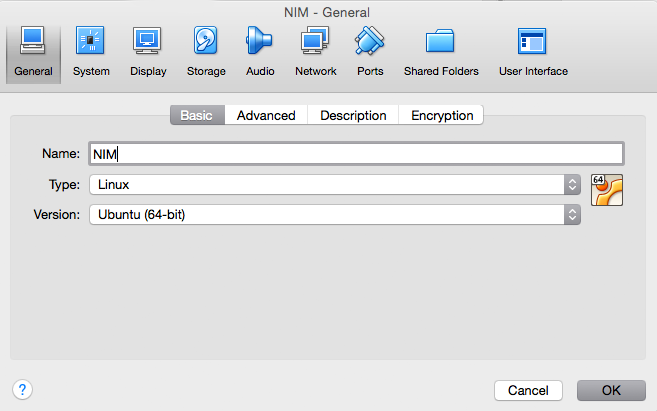
A dialog box of VM settings will open allowing you to modify all aspects of the VM including number of cores and amount of memory to use, to networking and storage options.
Depending upon your particluar host system VirtualBox may alert you that some settings need to be adjusted with an Invalid Settings Detected alert at the bottom of the Settings dialog.

Click on the alert for a detailed description of the invalid condition.
Network Settings
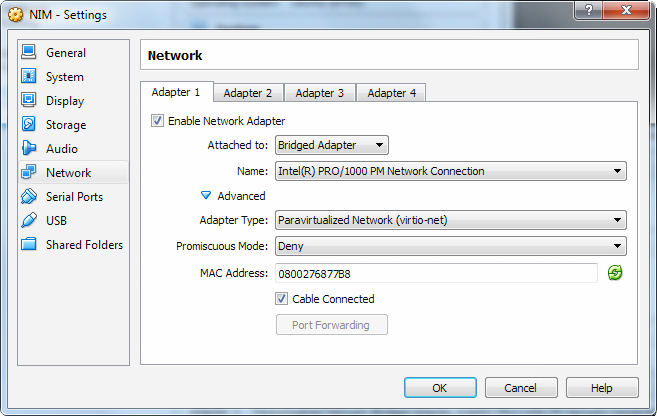
IMPORTANT - Before starting the NIM VM ensure the network adaptor is properly selected.
Depending upon your network configuration you may need to select the proper network adaptor and update the VM’s MAC address. To adjust these settings select your network adaptor by choosing the appropiate selection from the Name dropdown. To reset the MAC address click the recycle icon at the right of the MAC Address field.
Shared Folders
Built into VirtualBox is a mechanism to automatically mount folders on the VM without needing to manually configure mountpoints. These are called Shared Folders. Using Shared Folders is ideal for Windows shares where smb is not natively supported on the VM.

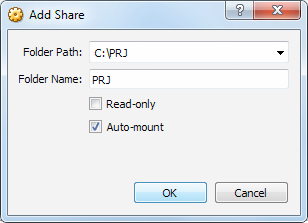
To include a shared folder on the VM select Shared Folders from the Settings menu. Click on the folder icon with the plus sign at the right and choose the folder path and name. Be sure to click the Auto-mount checkbox to have the folder be available on startup.
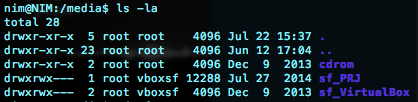
After starting the NIM VM the mount will be available in /media as sf_mountName where mountName will be name you gave the share.
Starting the VM
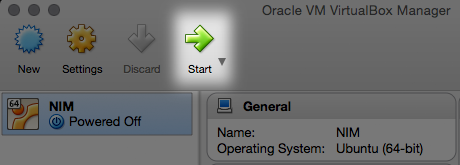
You are now ready to start the NIM server by clicking on the Start arrow in the menu bar or right clicking directly on the VM in the list and selecting Start.
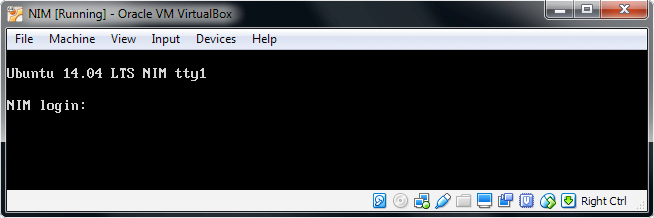
A new window will appear running the NIM virtual machine. When complete you will be presented with a command prompt. This is the location to login directly to the NIM VM server for administrative purposes including network address configuration and NIM updates.
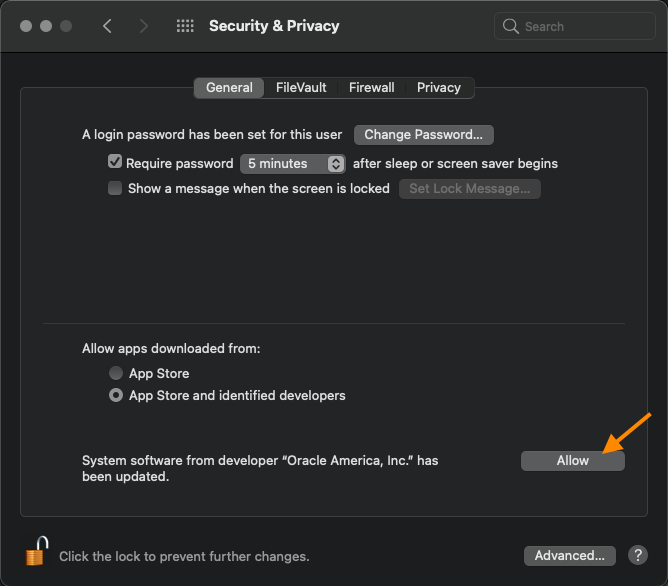
VirtualBox OSX Installation
Installation may fail on the first attempt to install VirtualBox on OSX and ask you to approve the installed extension.
To resolve this issue, go to System Preferences > Security & Privacy and click the Allow button for the “Oracle” developer.
After allowing the application, reboot and reinstall VirtualBox.