Asset Creation

To create a new asset, load one of the asset views from DEV > Assets in the job menu and click the  button at the far right of the asset toolbar.
The New Asset panel will slide out from the right with two options for asset creation.
Create - Allows for manual entry of asset names for creation
Import - Uses CSV Import for asset creation
Create
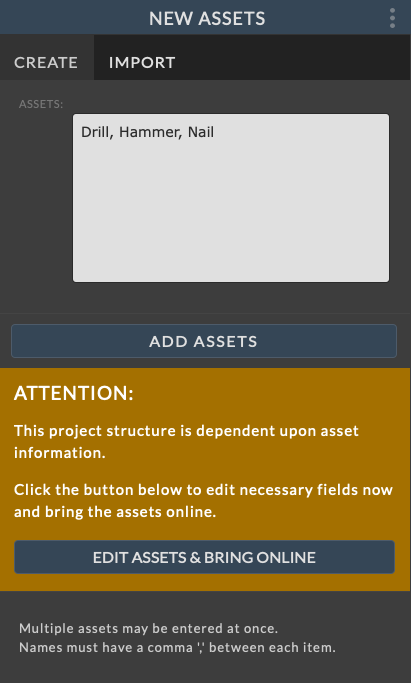
Click on the Create tab for manual entry of new asset names.
In the text area at the top of the panel, enter the names of the assets to create. Multiple assets may be created at once. To enter multiple assets, use a comma (,) between the asset names.
Important
Asset names can not be modified once created.
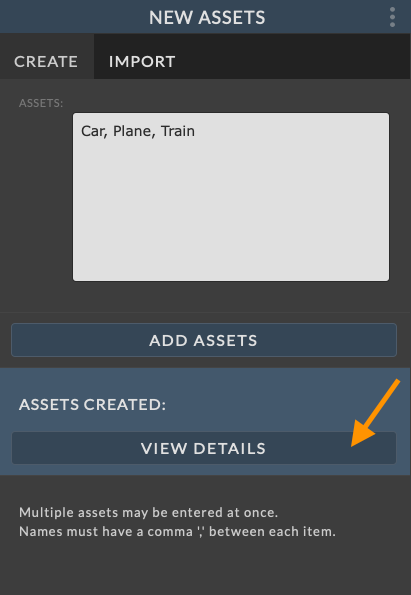
When all the asset names have been entered, click the ADD ASSETS button.
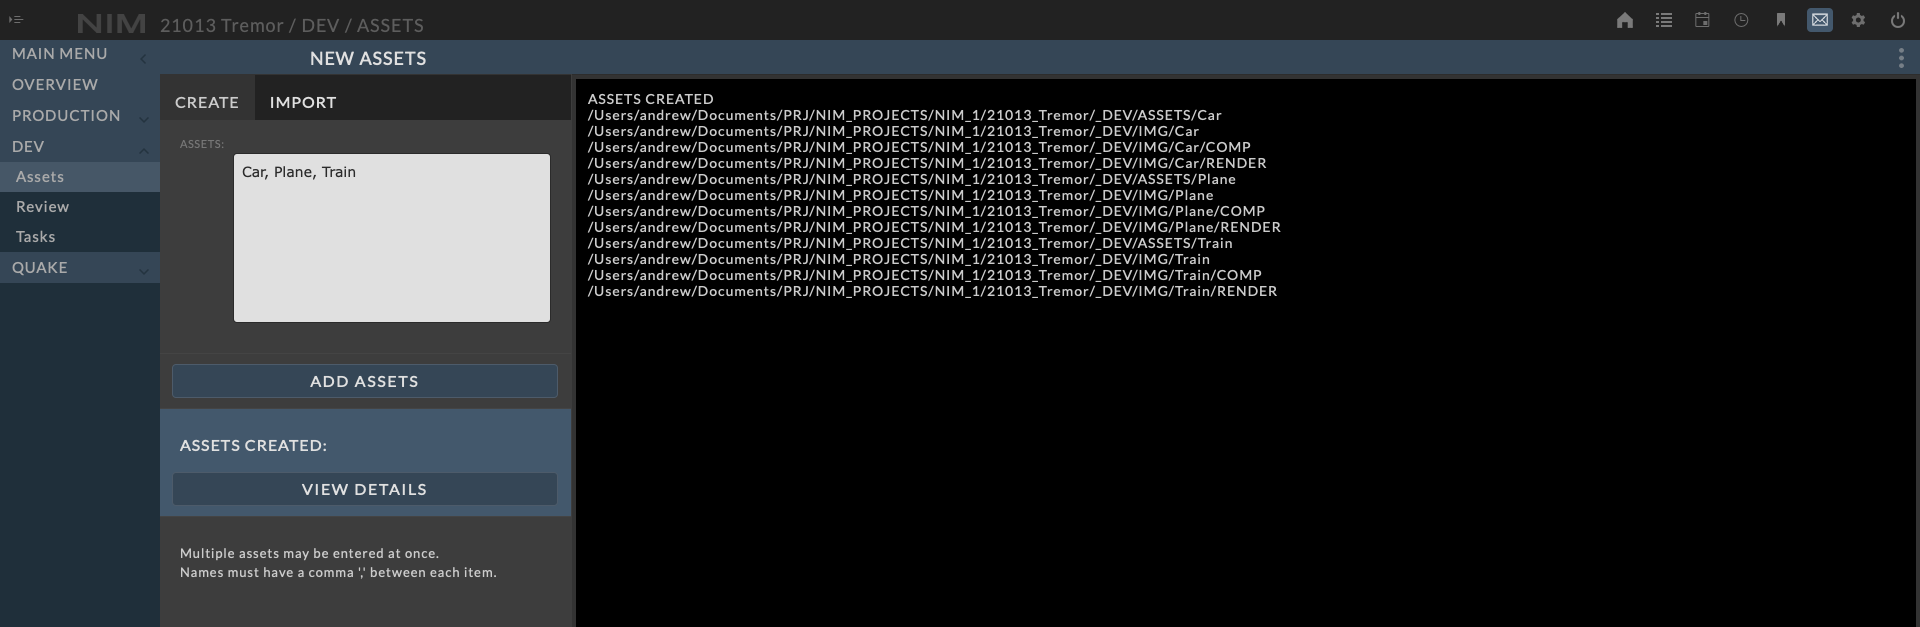
This will create new assets in NIM and update the Asset view.
If the job is online, then the assets will be brought online (if possible), and the associated asset folders will be made. (If the assets cannot be brought online, see Bringing Assets Online for more info.)
When asset creation is complete, a button named VIEW DETAILS will appear. Click this button to expand the creation details.
In the creation details, you will see the results of bringing the assets online. If there is an error, the error message will be displayed in bold. Typically any errors may be related to permissions on the project server. After fixing any possible issues you can try remaking the assets. Recreating the assets will not interfere with any existing folder structure.
Import
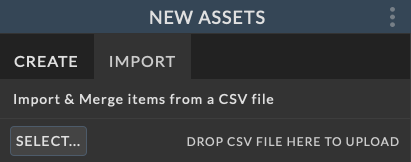
NIM allows for the import of asset names and information from a .csv file. To import a list of assets and asset information from a .csv file click on the import tab.
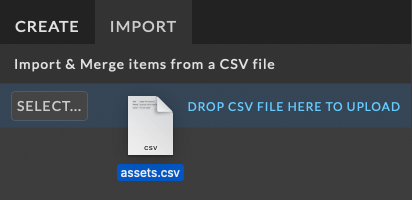
Next click the SELECT… button to choose a file, or simply drag and drop a CSV file over the button to begin upload.
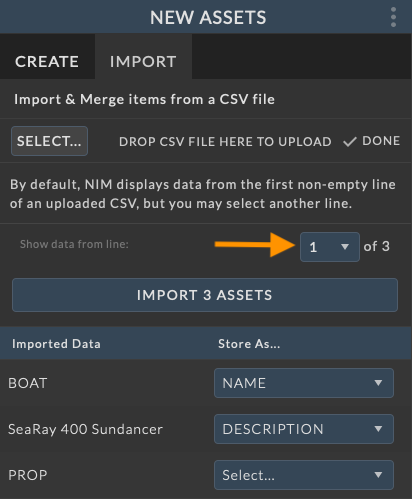
Once the CSV file is uploaded you will see the list of found fields displayed. By default, NIM displays data from the first non-empty line of an uploaded CSV, but you may select another line using the Show data from line: dropdown.
If your CSV file contains a header row, turn on the Skip header row switch to skip importing the first row of your file.
The left of the Import List displays the Imported Data found in the CSV. The right of the Import List is a series of dropdown menus. Use these dropdowns to select the NIM asset information to associate with that row of data. This dropdown includes all default NIM fields as well as any custom asset fields.
Once all of the desired rows have associated NIM asset items, click the Import xx Assets button where xx is the number of assets that will be imported.
Important
Asset names can not be modified once created.
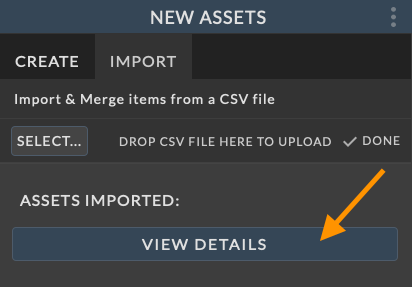
When asset creation is complete, a button named VIEW DETAILS will appear. Click this button to expand the creation details.
In the creation details, you will see the results of bringing the assets online. If there is an error, the error message will be displayed in bold. Typically any errors may be related to permissions on the project server. After fixing any possible issues you can try remaking the assets. Recreating the assets will not interfere with any existing folder structure.

Bringing Assets Online
If the job is online, newly-created assets will immediately be brought online if the project structure allows it.
However, if the project structure contains asset folders that require variables, the newly created assets will not be brought online, and an alert will be displayed in the New Assets panel.
The alert indicates that the selected project structure is dependent upon additional asset information.
To quickly fill out the required fields and bring the assets online, click the EDIT ASSETS & BRING ONLINE button. This will slide the New Asset panel to the left and reveal the Offline Assets page.
For more information on variable based project structures, please refer to the Variable Folders section of the documentation.
Note
This Offline Assets page is the same as the Offline Items tab in Job Configuration, except it only displays information related to assets. If the newly-created assets do not need to be brought online immediately, the alert box can be ignored, and these assets can be brought online at a later time from the Production/Config - Offline Items tab.
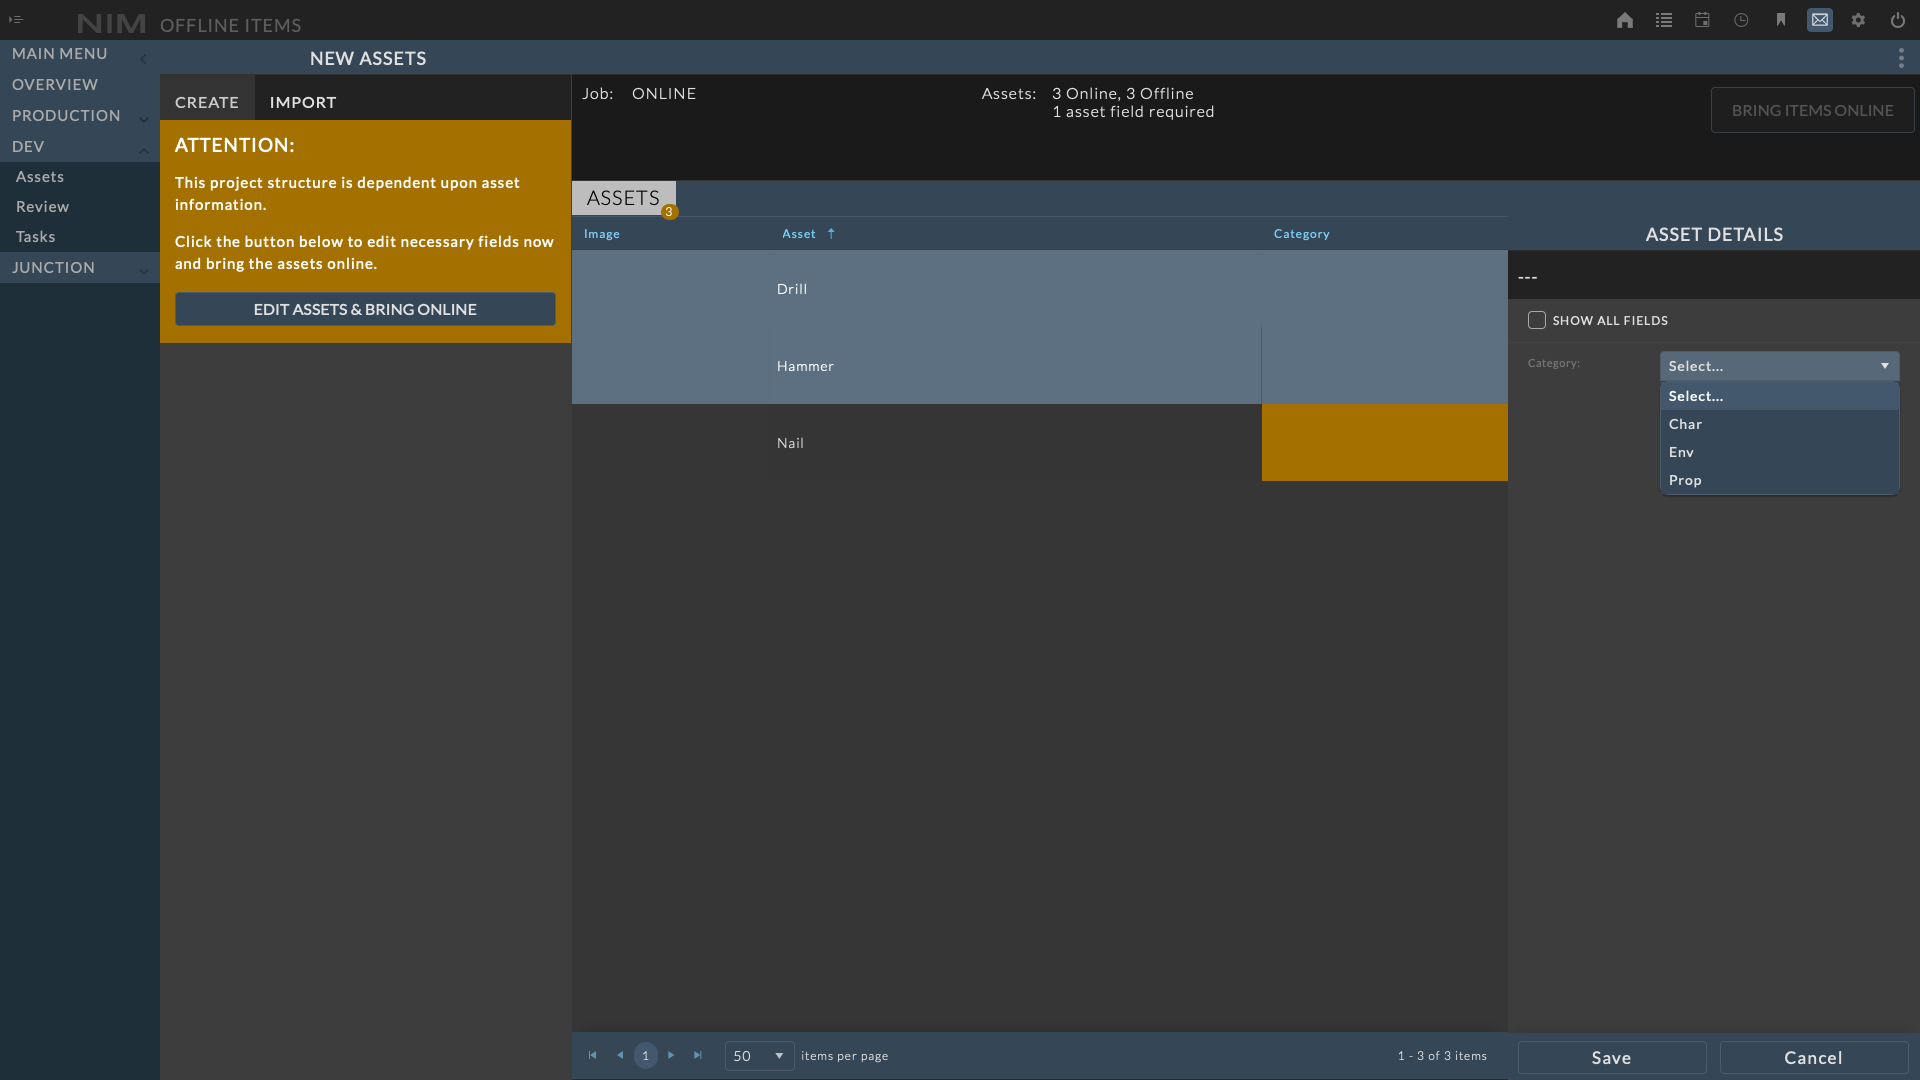
Below is the offline assets view when accessed via the EDIT ASSSETS & BRING ONLINE button:
Offline Items - Dashboard
The Offline Items dashboard provides a summary of the online/offline status of the job and the assets within the job. If one or more assets can be brought online, the BRING ITEMS ONLINE button in the upper dashboard will be highlighted, and the assets summary in the dashboard will highlight the number of items ready to be brought online. When clicked, all eligible items will be brought online and removed from this list.
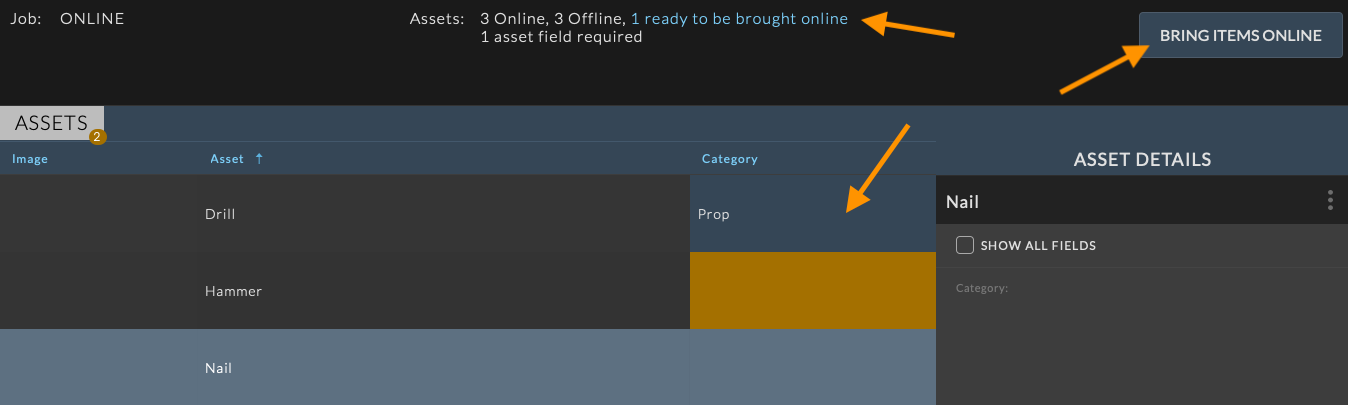
Offline Items - Assets
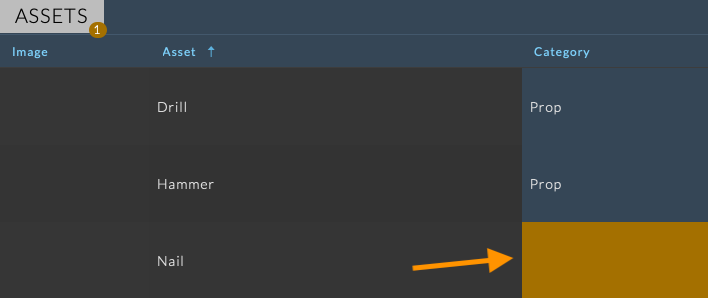
The assets tab displays a list of assets that are currently offline. If there are any asset fields required to bring these assets online, the cell will be highlighted orange. When required fields are filled in and saved, they no longer appear orange in the list. If none of the assets in the list require that field anymore, the column will be removed from the list.
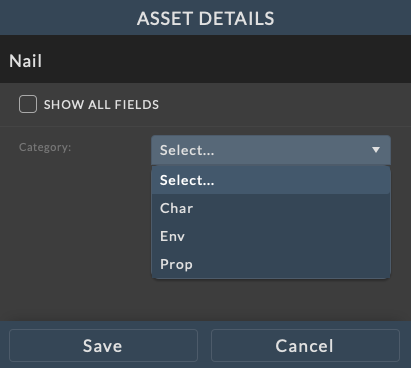
Clicking on an asset row will expand an info panel on the right side of the page. By default, the only visible fields in this panel are ones that are required to bring the item online.
The Show all Fields checkbox can be clicked to show all fields on the item. To edit a field, click the ellipsis menu in the info panel and choose Edit. Make the necessary changes and click the Save button at the bottom of the info panel to save your changes. Click the Cancel button to return to the view mode without saving changes.
Note
You can multi-select assets to modify a group at once by holding the shift key and clicking the assets to select a range or use the Command or Ctrl key depending upon your OS to select non-sequential assets.