Photoshop
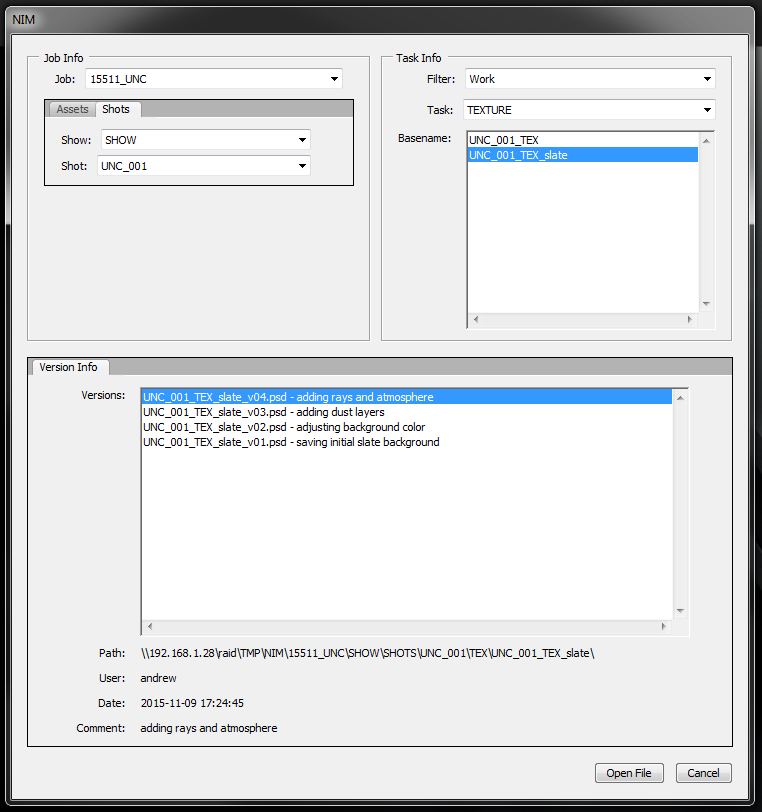
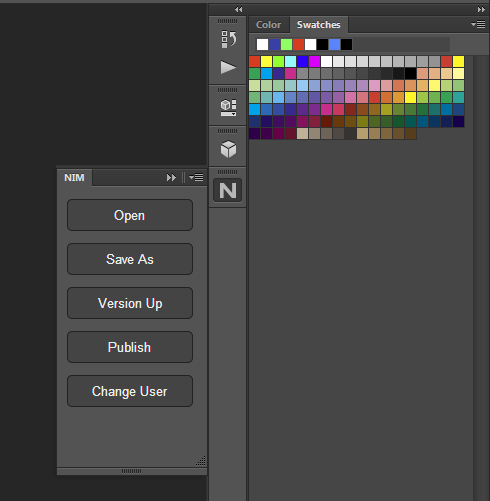
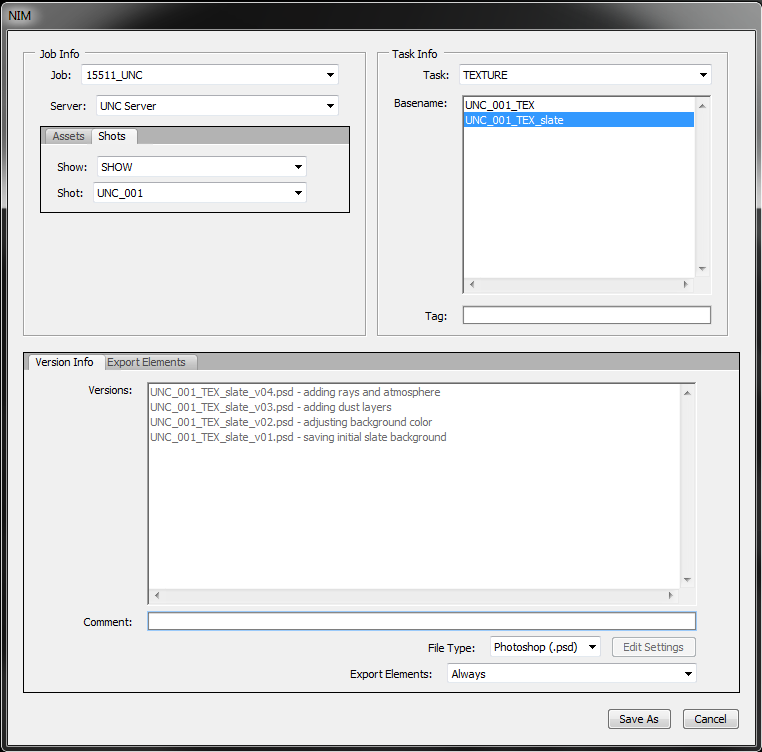
The Adobe® Photoshop® connector allows users to manage file directly through the integrated file browser. Browsing by Jobs & Assets or Shows, Shots, and Tasks allows users to circumvent navigating the servers folder structure and use the flow of production to open and save files.
When using NIM’s project structure management, the connectors manage all file naming conventions using task-centric organization of basenames, tags, and versions.
For an in depth look at the NIM Photoshop Connector functionality, check out the video here:
NIM - Photoshop Connector from NIM Labs on Vimeo.
Additional NIM videos can be found here: https://nim-labs.com/videos
Important
Apple M1 users:
The NIM photoshop connector uses the CEP framework. According to Adobe’s M1 native known issues, CEP based extensions are not natively supported and require Photoshop to be run in Rosetta mode. The following known issue can be found on the Adobe website at: https://helpx.adobe.com/photoshop/kb/photoshop-for-apple-silicon.html
M1 native known issues
To use extensions that rely on CEP, install and run them in Rosetta mode only. Once you launch under Rosetta, you may need to go to Window / Extensions (legacy) to open your CEP panels again. You will not see the “Open in Rosetta” option if you are right-clicking on an “alias”.
Installation
The following procedures describes how to install the integrated Photoshop NIM browser. The connector is available as an extension in the Photoshop > Window > Extensions menu option. Once loaded a new NIM menu will be in the Window Panel. The script and the following installation procedures have been tested with Photoshop CC 2015.0.1 and later.
There are two options to installing the Photoshop connector.
Automatically managed using adobeexchange.com
Manual Installation
Automatic Installation
To install the connector automatically using the Adobe® Exchange, click on the following link:
NIM Photoshop Connector - Automatic Installation
Follow the directions on the page to install the extension.
Manual Installation
If you are unable to install the connector via the Creative Cloud App, please follow the Adobe® instructions at the following link for steps on manually installing the connector.
NIM Photoshop Connector - Manual Installation
The above steps will walk you through downloading and installing the connector via an Adobe compatible Extension Install Utility.
Setting Preferences
If you have already installed and launched other NIM Connectors your connection preferences will already be saved in the nim.prefs file.
The NIM preferences are in the following locations:
Windows: |
drive:/Users/[USERNAME]/.nim |
OSX: |
/Users/[USERNAME]/.nim |
Linux: |
/home/[USERNAME]/.nim |
If this is the first time accessing a NIM Connector, when you select a NIM menu option a dialog box will appear to enter the scripts path and the address of the NIM API.
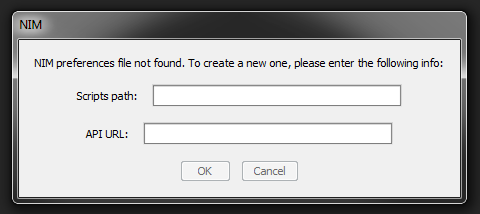
Enter the NIM Scripts path as the full path to the NIM Connector folder [NIM_CONNECTOR_ROOT].
Enter the API URL as follows:
http://[hostname]/nimAPI.php
where [hostname] is the address you have assigned to the NIM server.
API Keys
NIM API keys are an optional security feature that restricts API access with time limited per user keys. Requiring API keys restricts all API access to only those users with an API key.
If Require API Keys is enabled in ADMIN/Security - Options, users will be presented with a dialog box the first time they attempt to use a NIM Connector. API keys are unique to each user. Enter the NIM API key provided to you by your NIM administrator. For more information on enabling NIM API Keys please refer to the API Keys section of the documentation. For information on creating user API keys please refer to the Users Grid section of the Administration documentation.
